
 www.walmart.com
 Opening: Rolling into Kitchen Convenience: Building Your Own Compact Kitchen Cart Tired of cramped counter space? A compact kitchen cart can be a lifesaver, providing extra storage, a mobile workspace, and even a stylish addition to your kitchen. This step-by-step guide will walk you through building your own, customized to fit your needs and available space. We'll focus on a simple design, perfect for beginner woodworkers. Let's get rolling!
Step 1: Planning and Gathering Materials: Before you start cutting wood, it's essential to plan your cart's dimensions and gather your materials. Consider your available space, desired storage capacity, and the overall aesthetic you're aiming for. Dimensions: Measure the area where you plan to use the cart. Determine the desired height, width, and depth. A good starting point for a compact cart might be 36 inches high, 24 inches wide, and 18 inches deep. Materials List: You'll need: Wood (pine, plywood, or reclaimed wood) for the frame, shelves, and top. Consider the thickness of the wood based on the cart's intended use. 3/4" thick wood is generally a good choice for the frame and shelves. Four casters (wheels), at least two with brakes. Choose casters that can support the weight of the cart and its contents. Wood screws (various lengths). Wood glue. Sandpaper (various grits). Wood stain or paint and sealant (optional, for finishing). Tools: You'll need: Saw (circular saw, jigsaw, or hand saw). Drill/Driver. Measuring tape. Pencil. Clamps. Sander (optional, but recommended). Safety glasses and ear protection.
Step 2: Cutting the Wood: Based on your plan, cut the wood pieces to the required dimensions. Double-check your measurements before cutting to avoid mistakes. Here's a sample cut list, adjust according to your chosen dimensions: Frame: 4 legs: 36 inches (height of the cart) 2 side rails (top): 24 inches 2 side rails (bottom): 24 inches 2 end rails (top): 18 inches 2 end rails (bottom): 18 inches Shelves (2 shelves): 22.5 inches x 16.5 inches (adjust to allow for frame) Top: 24 inches x 18 inches Always use safety glasses and ear protection when cutting wood.
Step 3: Assembling the Frame: Begin by assembling the frame. Apply wood glue to the joints where the legs meet the side and end rails. Use wood screws to secure the joints. Predrill pilot holes to prevent the wood from splitting. Use clamps to hold the frame together while the glue dries. Ensure the frame is square by measuring the diagonals. They should be equal.
Step 4: Installing the Shelves: Attach the shelves to the frame. Decide on the placement of the shelves. Consider the height of items you plan to store on the cart. Apply wood glue to the edges of the frame where the shelves will rest. Use wood screws to secure the shelves to the frame. Again, predrill pilot holes. Use clamps to hold the shelves in place while the glue dries.
Step 5: Attaching the Top: Secure the top to the frame. Apply wood glue to the top edges of the frame. Place the top on the frame, ensuring it is centered. Use wood screws to attach the top to the frame. Predrill pilot holes. Use clamps to hold the top in place while the glue dries.
Step 6: Sanding and Finishing: Once the glue is dry, sand the entire cart to smooth out any rough edges or imperfections. Start with a coarser grit sandpaper (e.g., 80 or 100 grit) and gradually move to finer grits (e.g., 150 or 220 grit). Wipe away any sanding dust with a clean cloth. Apply wood stain or paint according to the manufacturer's instructions. After the stain or paint is dry, apply a sealant to protect the wood and provide a durable finish.
Step 7: Installing the Casters: Attach the casters to the bottom of the legs. Mark the locations for the casters on the bottom of each leg. Predrill pilot holes for the caster screws. Use wood screws to attach the casters to the legs. Ensure the casters are securely attached and can rotate freely.
Conclusion: Your Kitchen Cart is Ready to Roll! Congratulations! You've successfully built your own compact kitchen cart. Now you can enjoy the extra storage and workspace in your kitchen. Customize your cart further by adding hooks, towel bars, or other accessories to suit your specific needs. Enjoy your new, functional, and stylish addition to your kitchen!
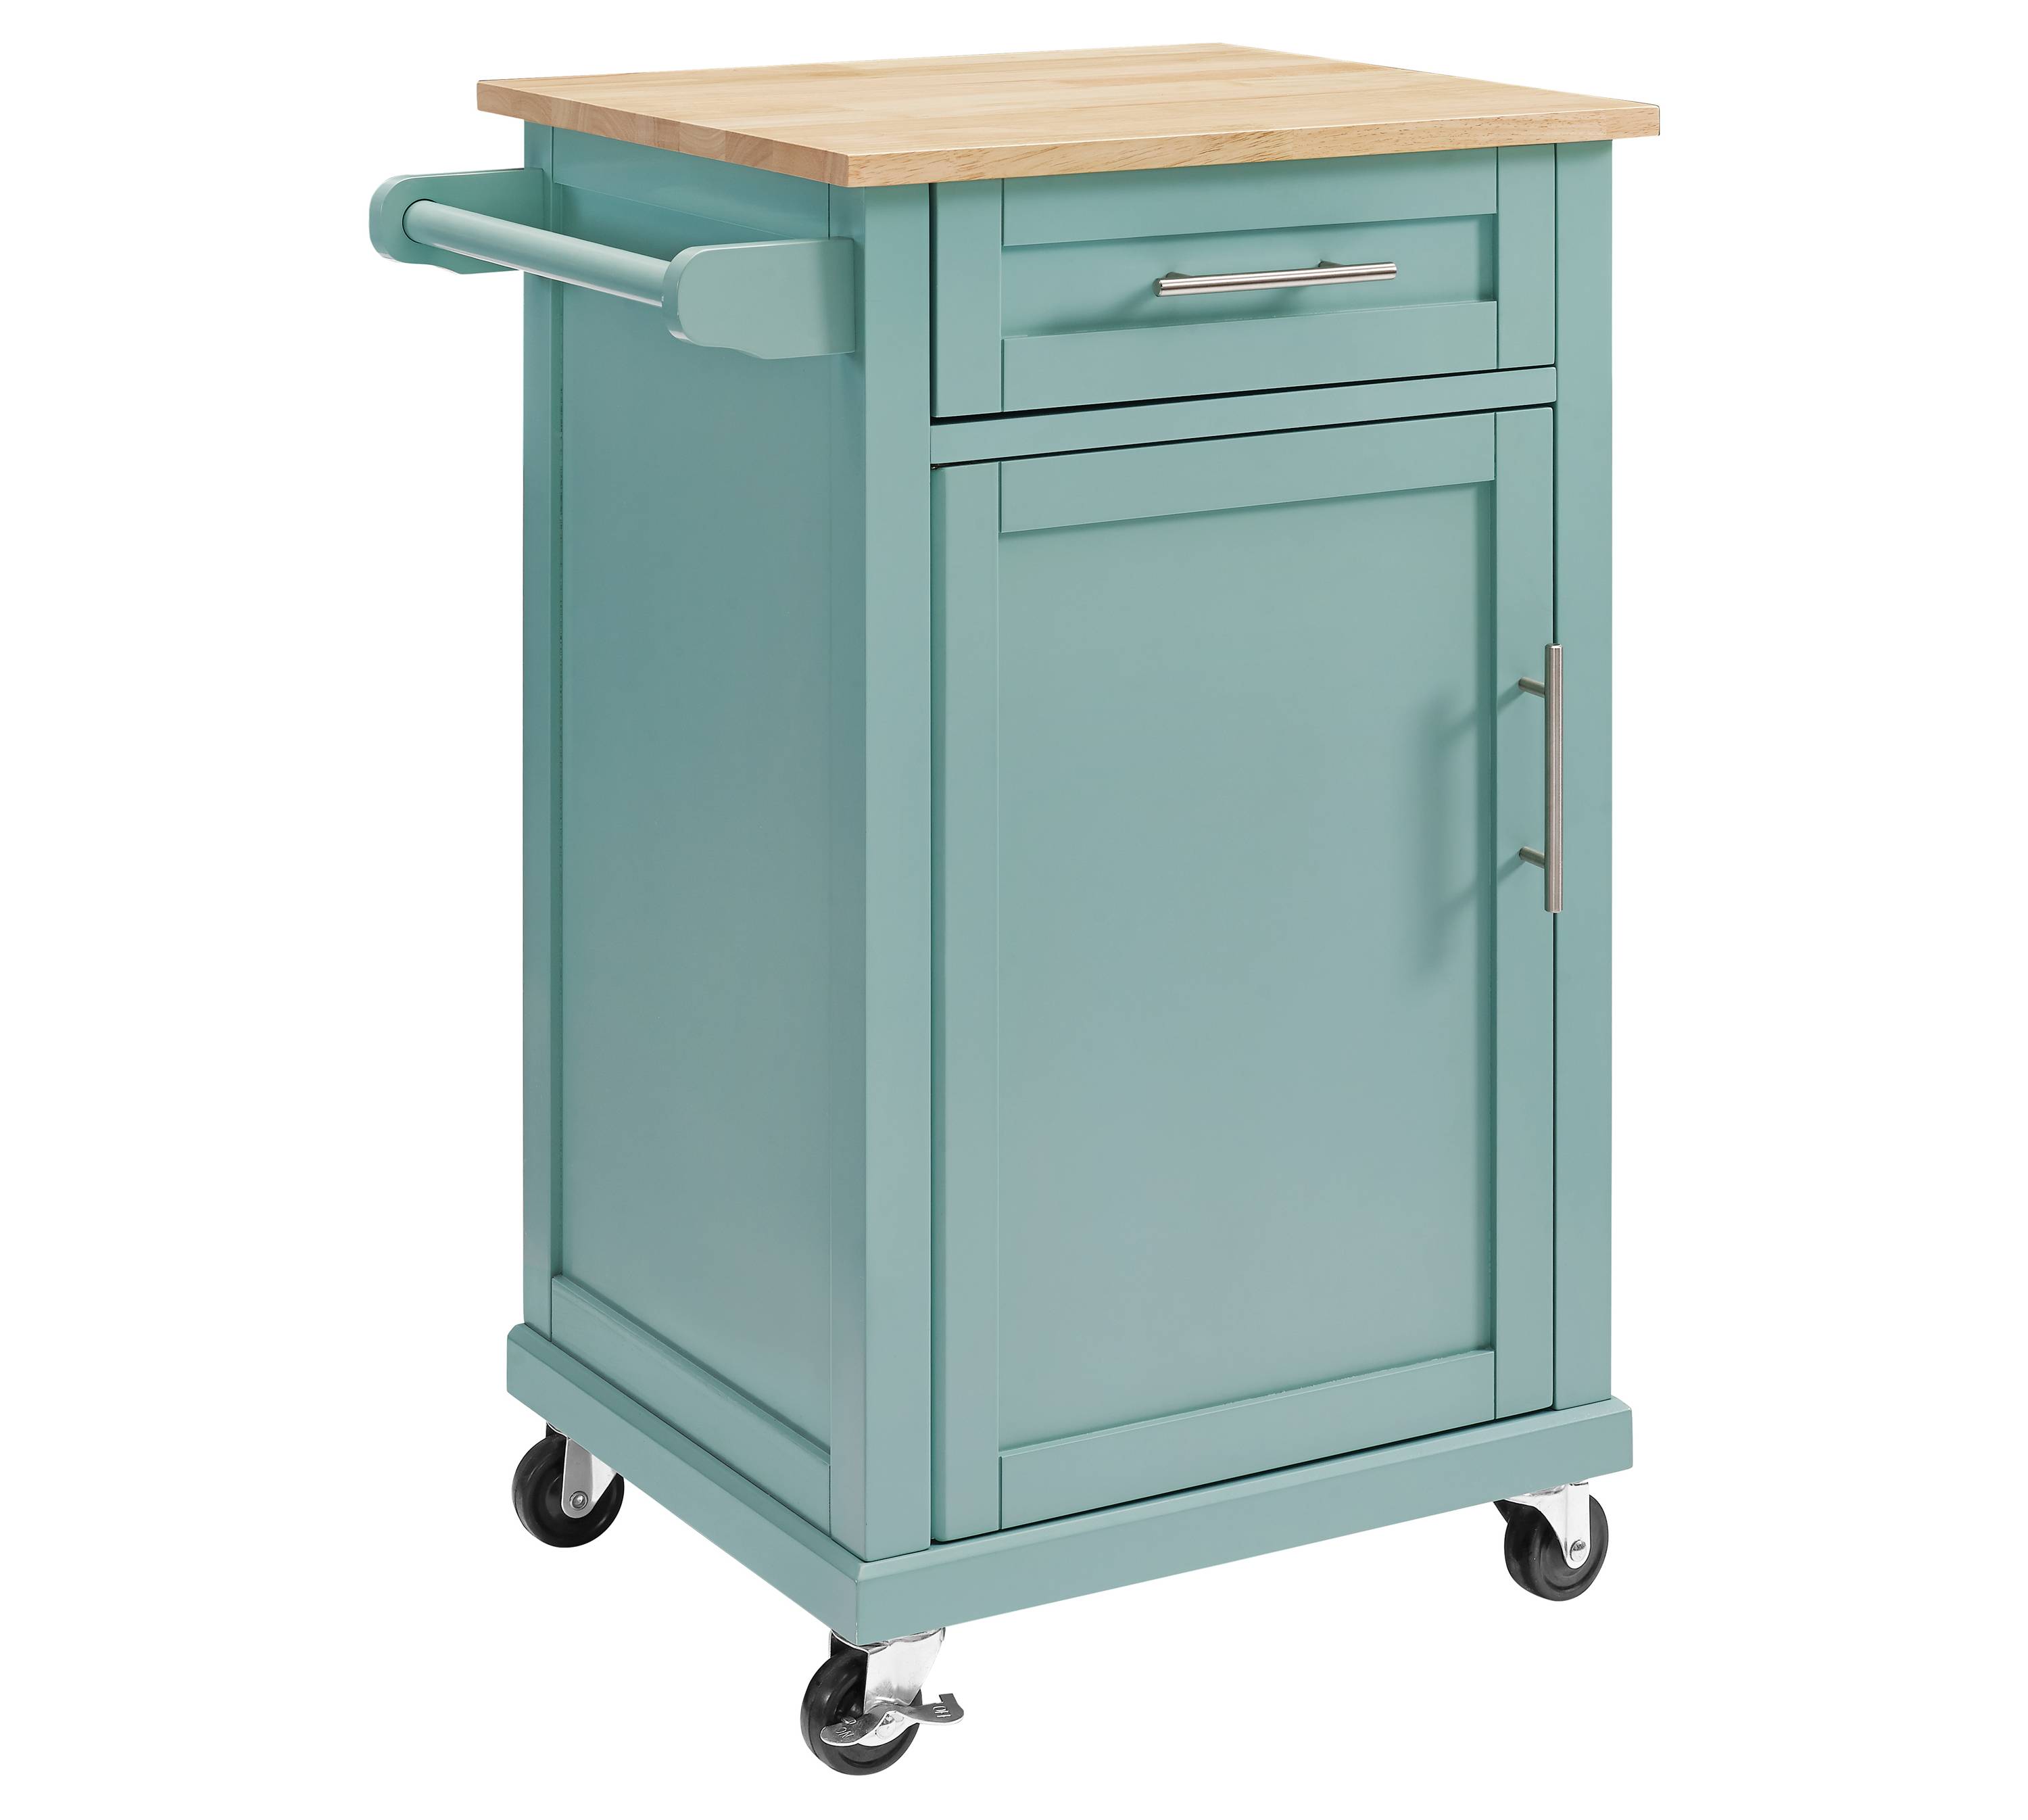
Carey Small Kitchen Cart
 everythingturquoise.com
 Homcom Compact Kitchen Cart, Wooden Rolling Kitchen Storage Cart With Storage, Utility Cart With
www.walmart.com Essential Home 3-tier Portable Kitchen Cart
 support.moonpoint.com


